24K
visual assets
1 million+
users
1000+
schools
7
languages
Visible Body creates interactive A&P and biology products for the web and mobile devices. We give students everything they need to succeed in life sciences courses and help instructors create interactive content their students love.

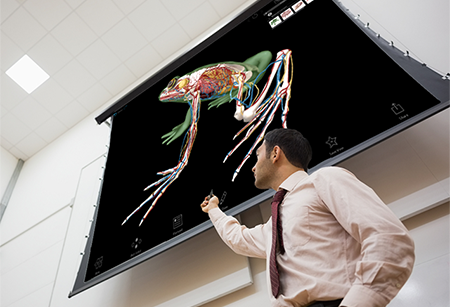
Richard Mantrana, Department of Vocational Health
"We're working on the cardiovascular system so I'll pull up the model... on the Promethean board—it makes me look like a wiz!"

Debbi Johnson, Lab Coordinator
"My students loved it...They did better in labs and on quizzes after using Atlas. They kept saying, 'Now I get it!'"

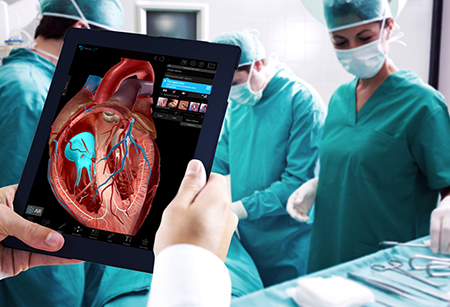
Tomer Kanan, Assistant Clinical Professor
"Our students have total control over how they consume the information. With Visible Body students manipulate the 3D models in a way that makes sense to them."

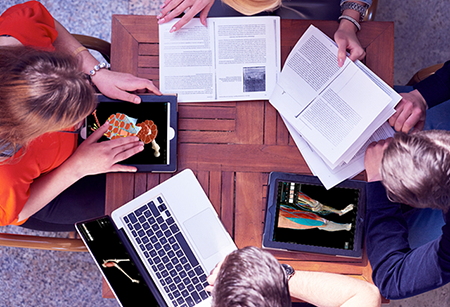
Mary Katherine K. Lockwood, Clinical Associate Professor
"I use [Visible Body] because students are in lab about two hours a week. It's not enough time to look at the anatomical material."
A 3D visual science learning platform with fully immersive assignments and LMS integration
Assign interactive lessons and quizzes
Track student progress and time-on-task
Single sign-on with your LMS
A comprehensive 3D exploration of the life sciences
Visual & interactive approach to learning A&P and biology
Watch hundreds of animations and simulations, and test your knowledge with dynamic quizzes and flashcards
Available on multiple devices and in seven languages